Mobility and yoga exercices to relieve your back
Do you spend most of your time seated, in the car, behind your screen at the office, in the pub or on a folding chair watching the boats? Unfortunately, you may be suffering from a well-known but (too) often overlooked ailment: a muscular imbalance in your back.
To sum up, our bodies were developed over the centuries to be in motion, running, carrying loads, jumping, throwing… and then came the sedentary life. Where we human beings used to spend 12 to 16 hours a day in movement and action, we’ve now moved on to a life where we sit for between 6 and 8 hours a day. And when you do more than 4 hours of sport a week, you’re now considered super-sporty. See the discrepancy?
Translated with DeepL.com (free version)
Sitting is comfortable, isn’t it? So our bodies relax and our muscles rest. Which is fine for a short time. But when it becomes the majority of our day, our body adapts to this new lifestyle. The result is reduced range of motion in joints, hips and shoulders.
Maintaining the same position will create muscular imbalances, with the same muscles always in extension and their antagonists (on the other side) always at rest because they are supported.
So what are the solutions?
If your job requires you to stay behind your desk, the ideal solution would be to have an ergonomic workstation: like an ergonomic chair or a sit-stand desk that allows you to get up regularly. The transition may be a little painful, as your little muscles that used to sleep for 8 hours at work will have to work a little harder. But after a month, you’ll feel fitter, both physically and mentally, after just one day!
Otherwise, try to get up as often as possible and walk a few steps.
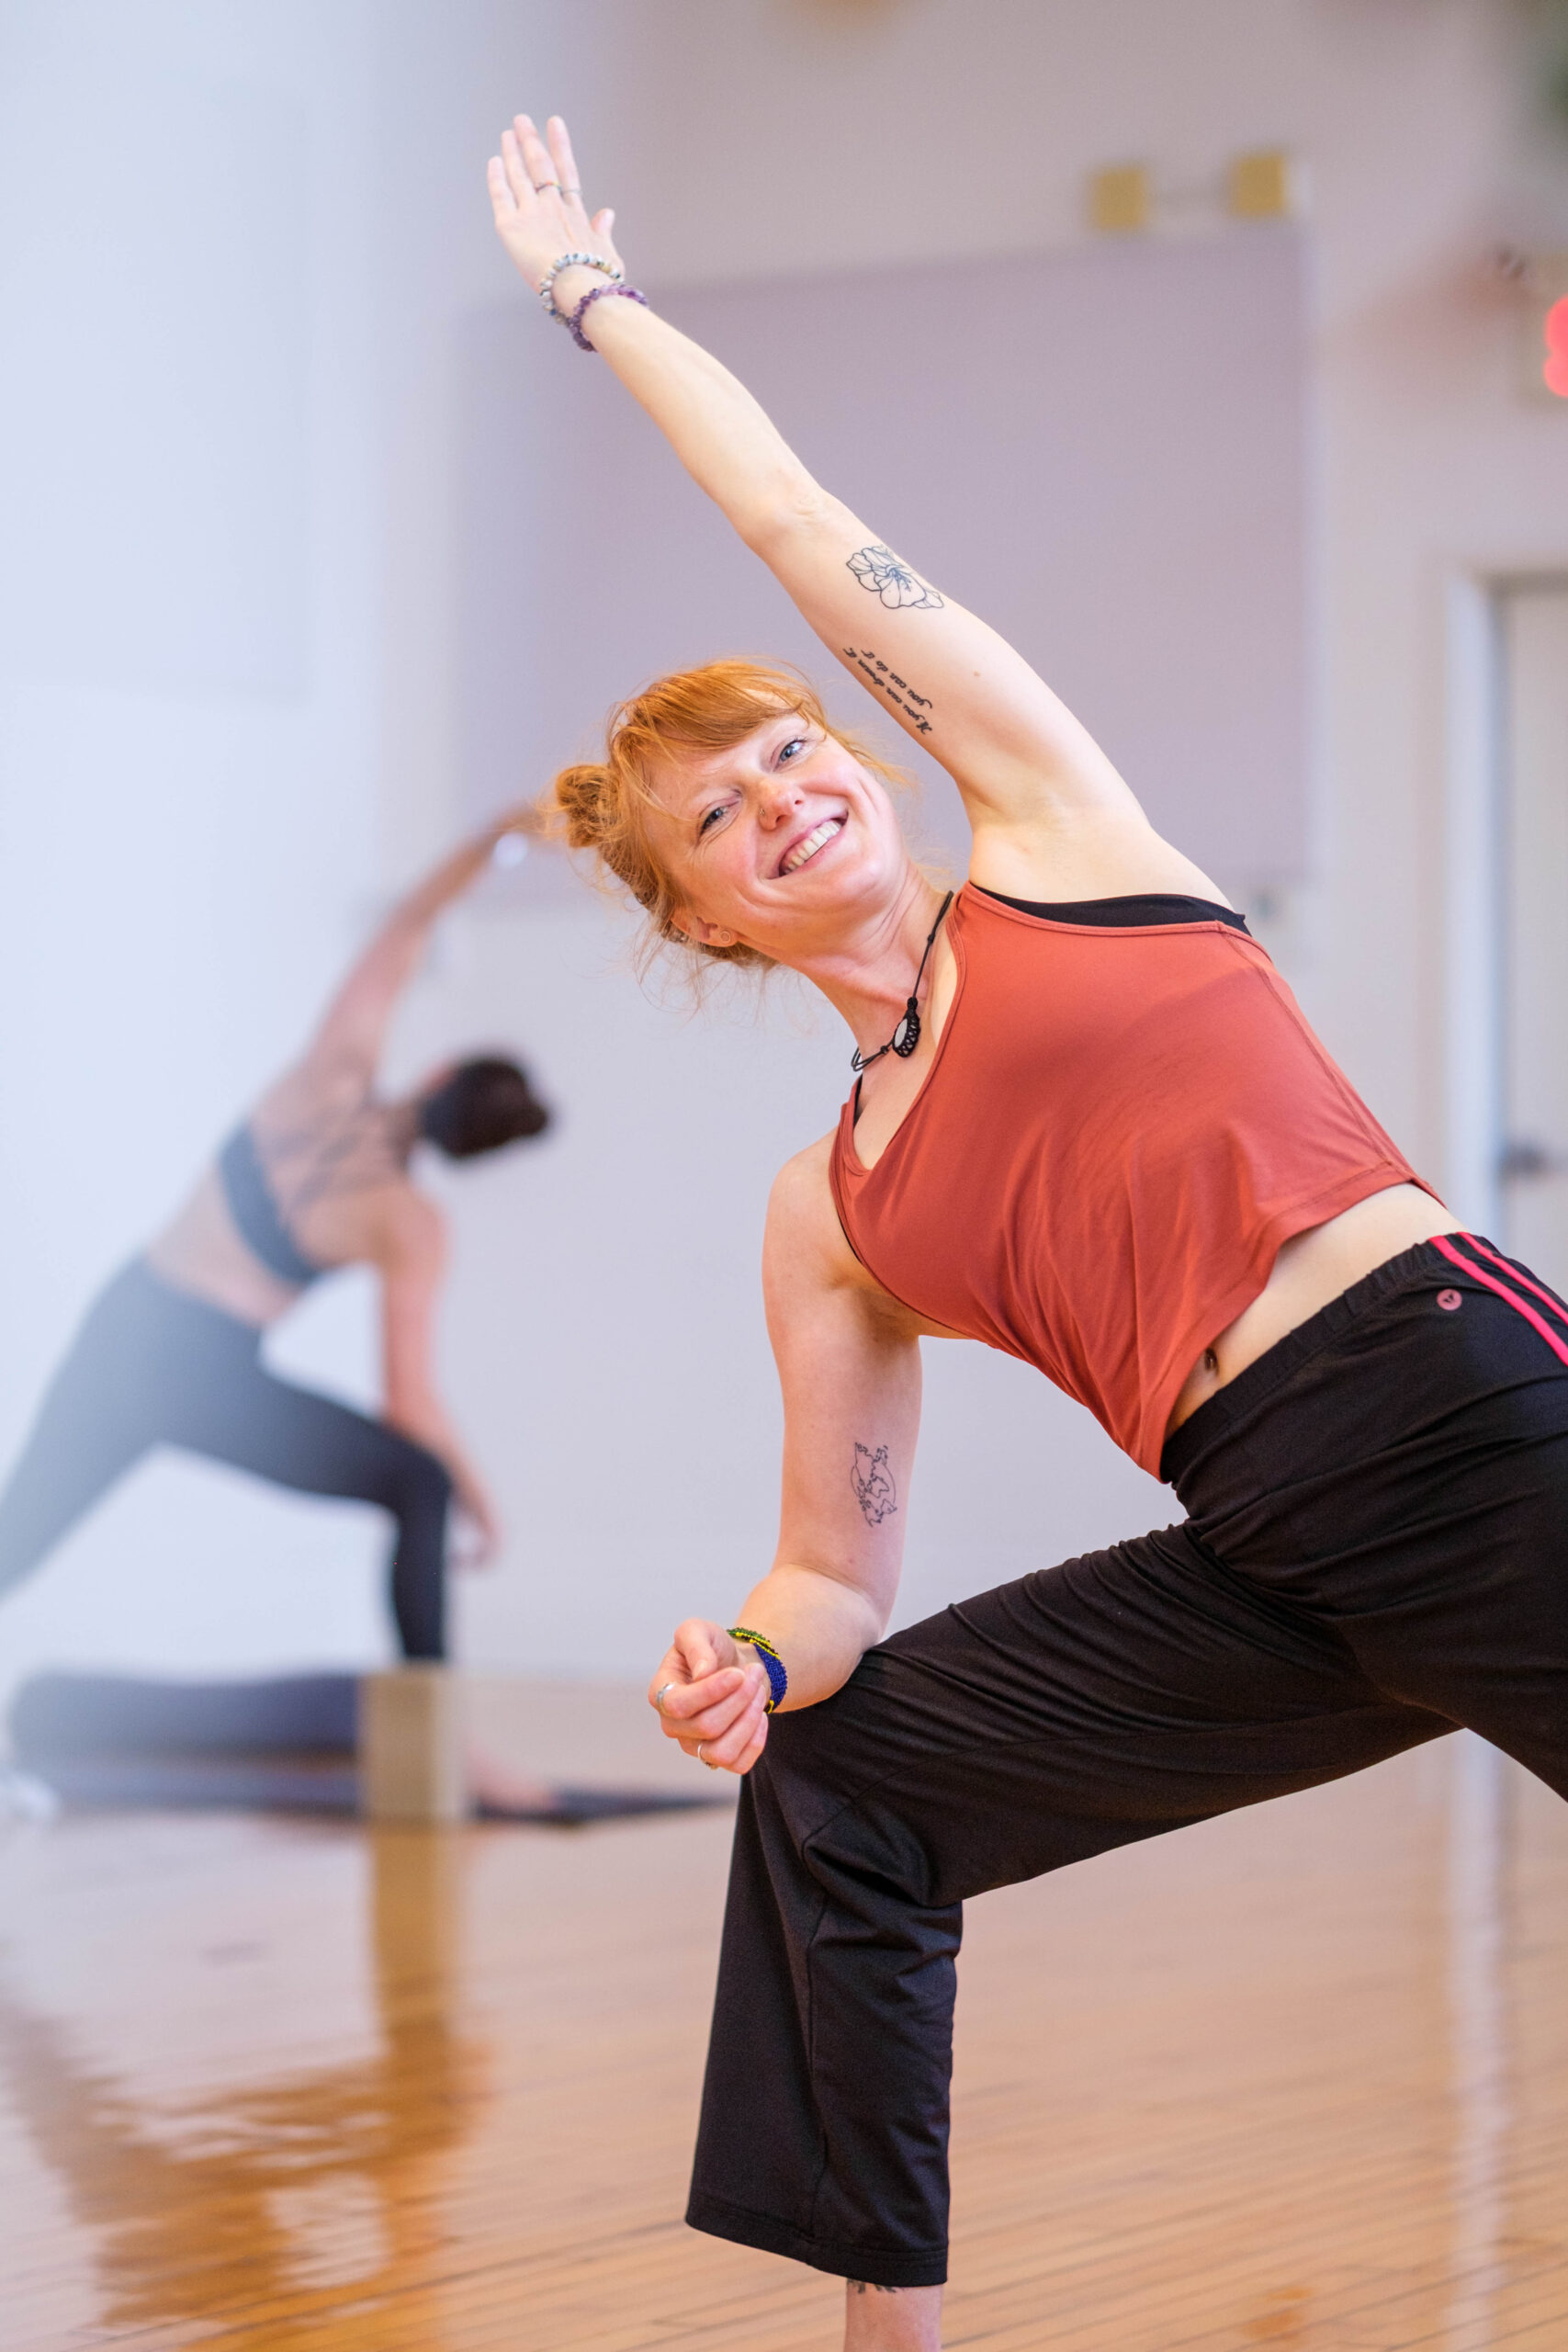
You could choose a physical activity that’s good for you. Yoga, for example, is great for taking care of your joints, flexibility, spine and abdominal muscles.
Of course, I’m going to tell you all about our fabulous yoga studio, which offers a wide variety of yoga, fitness and mobility classes! But here we’re not just promoting our services, we’re also trying to invite you to do something good for yourself.
There are a plethora of yoga postures that can help, but here’s a sequence you can practice to lengthen and relax your back. You could do them every day in the morning or at bedtime, or both. Whenever you want.
Yoga postures to relieve back pain

1. The cat stretch (Marjarâsana) or cat-cow stretch
Starting position: Stand on all fours, legs parallel to each other, knees in line with hips. Wrists directly below shoulders.
Cow: inhale, pull your hips towards the ceiling, arch your back towards the floor, stretching your abs, lifting your head, without breaking the neck, until you can focus on a point in front of you.
Cat: as you exhale, push your hands into the floor, rounding your back upwards and gently dropping your head to the floor, chin towards your torso.
Repeat these movements as you breathe in and out.
2. Cobra (Bhujangasana)
On your stomach, elbows bent and hands under your shoulders, place your palms against the floor. Keep your legs straight and your feet extended but parallel. As you inhale, stretch your belly and lengthen your spine. Press down on the tops of your feet to lift your knees off the floor, and lift your torso between your hands. Be careful not to over-bend your neck; you can look down at the floor to avoid injury. Your hands may not touch the floor you’re holding, and your navel must not touch the floor.


3. Twisting cat pose
Resume the posture on all fours, pelvis square and legs at 90. As you exhale, pass your left arm under your right armpit, resting your temple on the floor. Your shoulder should touch the floor. Keep your legs at 90. Hold for a few breaths, then return to cat. On the exhale, change arms.
4. Puppy pose (Uttana Shishosana)Resume the posture on all fours, pelvis square and legs at 90. As you exhale, pass your left arm under your right armpit, resting your temple on the floor. Your shoulder should touch the floor. Keep your legs at 90. Hold for a few breaths, then return to cat. On the exhale, change arms.
Resume the four-legged posture. Lay your forearms on the floor, forehead on the ground to stretch your back. Keep your legs perpendicular and your pelvis square. Take 5 deep breaths in this posture.
Option: lift your head and keep your arms taut.


5. Child pose (Balasana)
Resume your posture on all fours and spread your thighs, your big toes should touch, then sit back on your heels, stretching your arms forward, your belly should fall between your thighs and your forehead should touch the ground. Take long breaths in and out in this posture.
Optional: for more groin work, you can do it with your legs pressed together.
Mobility exercises to relieve back pain
While these yoga postures are easy to do at home, it’s not always easy to bring your yoga mat to work. So here are seven exercises to be done ideally every 45 minutes, but we don’t always do what we want, so we do what we can. All these exercises can be done seated or standing.Mobility exercises to relieve back strain
1. “Yes, no, I don’t know”.
The yes (5 repetitions): make little yeses with your head
Starting position: back straight and long, abs engaged, arms at sides.the yes (5 repetitions): make little yeses with your head.
Action :
- look down, let the eyes pull the head down (chin almost touching the sternum).
- straighten your gaze upwards and forward, letting your eyes gently lead your head without going too far back (unless you want to self-assess, which can solve your cubicle problem).
No (5 repetitions):
- Same starting position and principles as yes. Except that it’s left to right, always slow and controlled, leading with the eyes.
The “I don’t know” (5 repetitions):
- Still the same position and tempo except that the chin goes to the left and the top of the skull goes to the right, then vice versa.


2. Supinated arm lift
Starting position: back straight and long, abs engaged, arms by your sides,
Action: extend and raise your right arm 45 degrees to the supinated side (open hand palm up and thumb back). Then bend the top of the skull to the opposite side, trying to create a straight line from the top of the skull to the fingertips.
Leading with the eyes, look up and down, maintaining the line. 5 to 10 repetitions on each side.
3. Retraction of shoulder blades
Starting position: back straight and long, buttocks engaged, abs contracted, the aim is to keep the torso as stable as possible. Fingers interlaced behind the back.
Action: roll shoulders up and back. Once back, take a deep breath and release the hands.
Next repetitions: reverse fingers.


4. The number 4
Starting position: seated on edge of chair, back straight. Keep one leg straight over your ankle (90º) and place the opposite ankle on your thigh.
Action: bend forward and stop just before you lose alignment and length in the back. Take three long, deep breaths and straighten up. Repeat three times.
You should feel a stretch on the outside of the right buttock.
Repeat the same sequence on the other side.
5. Dorsiflexion plantiflexion
Starting position: seated and still seated, back straight.
Action: extend one leg, point your toes, contract for 5 seconds, smile. Bring the toes back towards the knee, contract for 5 seconds. Repeat five times on each leg.


6. The three prayers
- Palms facing each other at sternum level. Without lifting your palms, try to lower your wrists as much as possible, while raising your elbows as much as possible. Once you’ve reached the maximum position, point your fingertips alternately forwards and then towards your torso.
- Same position as 1, but with palms unstuck, lower wrists even further. Keep your fingers pressed together. And point your fingertips alternately towards the front, then the torso.
- Starting position: fingers down, backs of hands together, raise wrists as high as possible and lower elbows. Once you’ve reached your maximum, point your fingertips alternately towards the front and then the torso.
7. Foot self-massage
Starting position: put a ball on the ground (depending on your sensitivity: tennis, squash, lacrosse, golf) and step on it, rolling it and doing yourself good by pressing more or less depending on your affinity.
- From right to left under the ball of the foot.
- Rounded under the heel.
- From top to bottom on the outside of the foot, round under the heel.
Now you’re relaxed and ready to take on the rest of your working day!